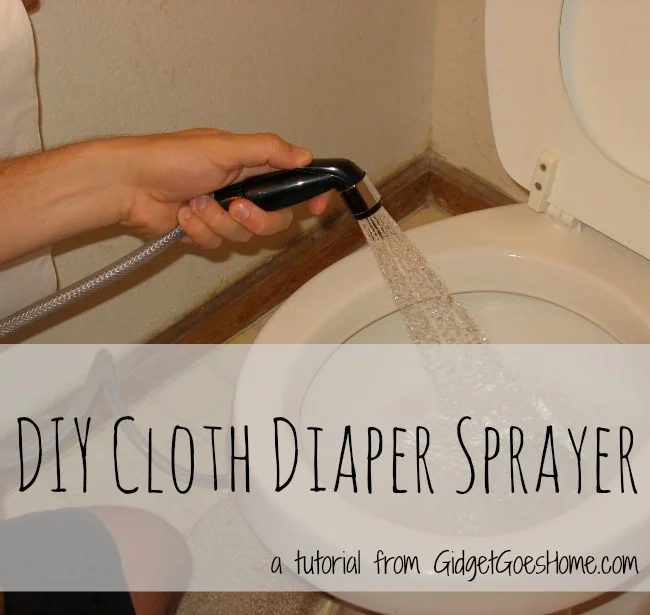
Editor's note: After getting fed up with poopy cloth diapers (even with my awesome flushable liners I use), I decided it was time to look into a diaper sprayer, which is basically a kitchen sink sprayer on a hose which attaches to the toilet's water line. I wasn't interested in buying one for $40 from the diaper companies, so we started looking online on how to make one ourselves. Unfortunately I only found a couple of tutorials, with no pictures! So, David will be offering his first guest post here on the blog with a step-by-step tutorial on making your own for about half the cost. These parts came out to around $20 at Home Depot and it took maybe 20 minutes to assemble. So without further adieu, I'll let my knight in shining armor take it away.
So Nicole told me one day that she was sick of sticking her hands in the toilet to get Gigi's poop off those cloth diapers. Before we started using cloth diapers, I would have never guessed that a kitchen sprayer next to the toilet would be so useful (when I told the guy at Home Depot what I was doing, he actually asked if I was making a bidet).
Anyways, here’s a list of the parts I bought for this diaper sprayer. We looked at several versions on the web that used barbed connections and hose clamps. You will find that all the connections in this design are threaded and (probably) less likely to leak.
-Kitchen Sink Spray Hose & Head Assembly
-Filter Connector Splicer (I think this is actually designed for a refrigerator water filter)
–Ander-Lign Compression Connector (1/4″ OD x 1/4″ MIP w/insert)
–“Adapt-a-Valve” T-fitting (3/8″ x 3/8″ x 1/4″)
1) The first thing you need to do is turn off the water that feeds into the toilet supply line.
2) Next, unscrew the toilet supply line from the valve. At this point, I should tell you to make sure that your toilet supply line is flexible. The rest of the procedure won’t be possible if you have a rigid toilet supply line. You can replace your supply line if necessary (or just check all the other toilets in your house until you find a flexible one – that’s what we had to do). It is helpful to have a small dish to catch any excess water that may be left in the toilet supply line.
3) Install the Filter Connector Splicer (fancy name for PVC tube with threaded ends) onto the 1/4″ branch of the T-fitting.
4) Attach the toilet supply line to the upper leg of the T-fitting. For those that haven’t done much plumbing work (which includes me; I am only going off what I have picked up since doing this project), the connection on your toilet supply line is most likely 3/8″ compression threads and that’s what I have assumed as I wrote these instructions.
5) Now you can install the T-fitting onto the valve.
6) Install the Compression Connector in the threaded end of the sprayer (you will notice that the 1/4″ pipe threads go into the tube and the 1/4″ compression threads will be free for now).
7) Install the PVC tube onto the 1/4″ compression thread side of the Compression Connector.
8 ) As a general note, I was instructed by the guy at Home Depot (obviously not an Olympian) not to tighten the compression fittings too much. Doing so may shred the washers and leave you with a leaky system. Also, I realized as I was putting the instructions together that it’s possible to install the parts in a different order and still have everything hook up correctly.
9) Once all the connections are properly tightened, turn the water back on to the valve. You will need to play with the pressure to get the right flow out of the sprayer. Also, you may experience some odd behavior from your toilet bowl and tank(running water sounds). I have found that it is just taking the tank longer to fill up (I am not a toilet expert so there may be more to that explanation that I am not equipped to offer).
That’s it. You can now use it to get that poop off without sticking your whole hand in the toilet. And if you are really brave you can start a water fight with your kids (not recommended for bathrooms with carpet).
Disclaimer: The following instructions are for inspirational purposes only, and are not from a plumber, but rather a simple DIY family. Feel free to try out, modify as needed, and share this tutorial! Affiliate links included.


